This article will show you how to apply individual lash trays step by step, whether you want to start a profession as a lash artist or just want to learn a new method to enrich your beauty arsenal.
1. How to be ready for the application process
The process of applying individual lash trays will go more smoothly and efficiently if you plan ahead of time.
Schedule your client's appointment - Clean and sanitize all tools and work areas before the visit.
Decide on the optimal length and curl for your client during the consultation. Consult with your client to determine the type of appearance they desire.
Sanitize your hands and then cleanse the lashes of your client.
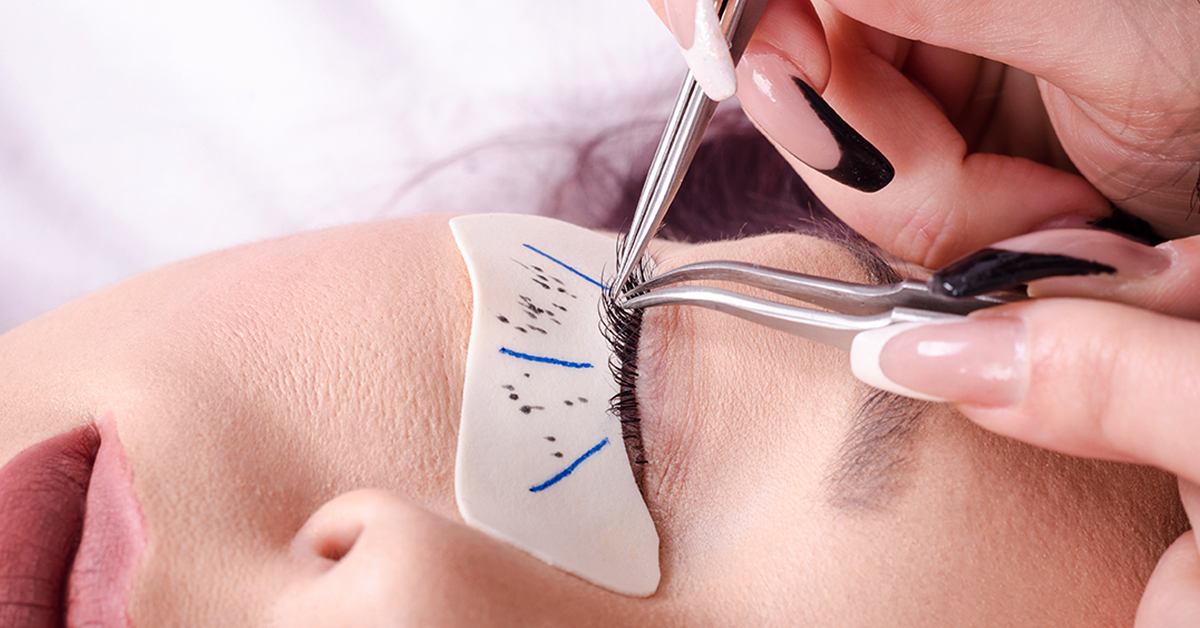
Apply eye pads to the area under your client's eyes and tape to the bottom lashes as needed. Before you start, make sure your client is comfortable and that their eyes can close completely.
Apply the primer using a tiny swab.
Shake your adhesive for at least 60 seconds before applying a little drop to your jade stone or sticky ring. Keep in mind that the glue drop should be replaced after every 25-30 minutes.
2. How to apply individual lash extensions
It's time to start lashing your client's lashes once they've been properly groomed.
When using individual lash trays, keep in mind that you will only be adding one extension to each eyelash.
Begin by separating each of your client's lashes with your tweezers.
Take an extension, dip it in glue, and place it on your client's lash.
Switch back and forth between your client's eyes.
Brush through the lashes with a mascara wand regularly and as needed to maintain things nice and tidy.
With your tweezer and a mascara wand, detach any lashes that may have adhered to the eye pad or together once the set of lash extensions is complete and 95-99 percent of your client's natural eyelashes are covered. Apply a sealer and use a Nano mister to cure the lashes.
Remove any eye pads, tape, and other items.
Explain to the client how to take proper care of and maintain their extensions, and encourage them to schedule an infill appointment within the next 2-3 weeks.
3. How to use eyelash adhesive properly
If the wrong adhesive is used, the eyelash extension may become unstable, or the client's eyes may become heavy and unappealing.
Longevity
Lashes adhesive, like most other cosmetics, has a shelf life. After being opened, lash adhesives normally last 4–6 weeks. Check for cloudiness and stringiness if you're not sure how long your lash glue has been open. If your glue has become murky or stringy, discard it and start over with a fresh bottle. When it's like this, there's no use in trying to apply the glue since it'll be impossible to deal with, and the extensions will come out faster than they would ordinarily.
When applying individual lash trays, it's also a good idea to change the glue drop every 15–20 minutes because the air and humidity will alter how effectively the glue works.
Always give the glue a good shake.
It's critical to remember to shake the glue thoroughly before applying it. This is due to the fact that if the glue container is left to rest for an extended period of time, the chemicals in the glue might separate. If you want to get the most out of your favorite lash adhesive, shake it before usage and between visits for the greatest effects.
How to correctly shake your adhesive:
Different glues require different amounts of time to thoroughly combine all materials, but on average, we recommend shaking for 2 minutes.
It's not enough to lightly shake the bottle; it has to be thoroughly shaken. If your arm aches a bit after shaking it hard enough, you've done it right. You can actually purchase a tiny machine that shakes it for you if you don't want to keep shaking it yourself! Yes, there is a simple solution to almost everything.
Instead of shaking it with the cap or lid on, use any lint-free material; tin foil is a common choice, but if you don't have any, a makeup sponge will suffice.
Replace the nozzle and make sure it's on the right side up to eliminate any bubbles that may have formed in your glue after shaking. Squeeze the bottle gently to let any trapped air out. This is critical since the bubbles might have an impact on your descent.
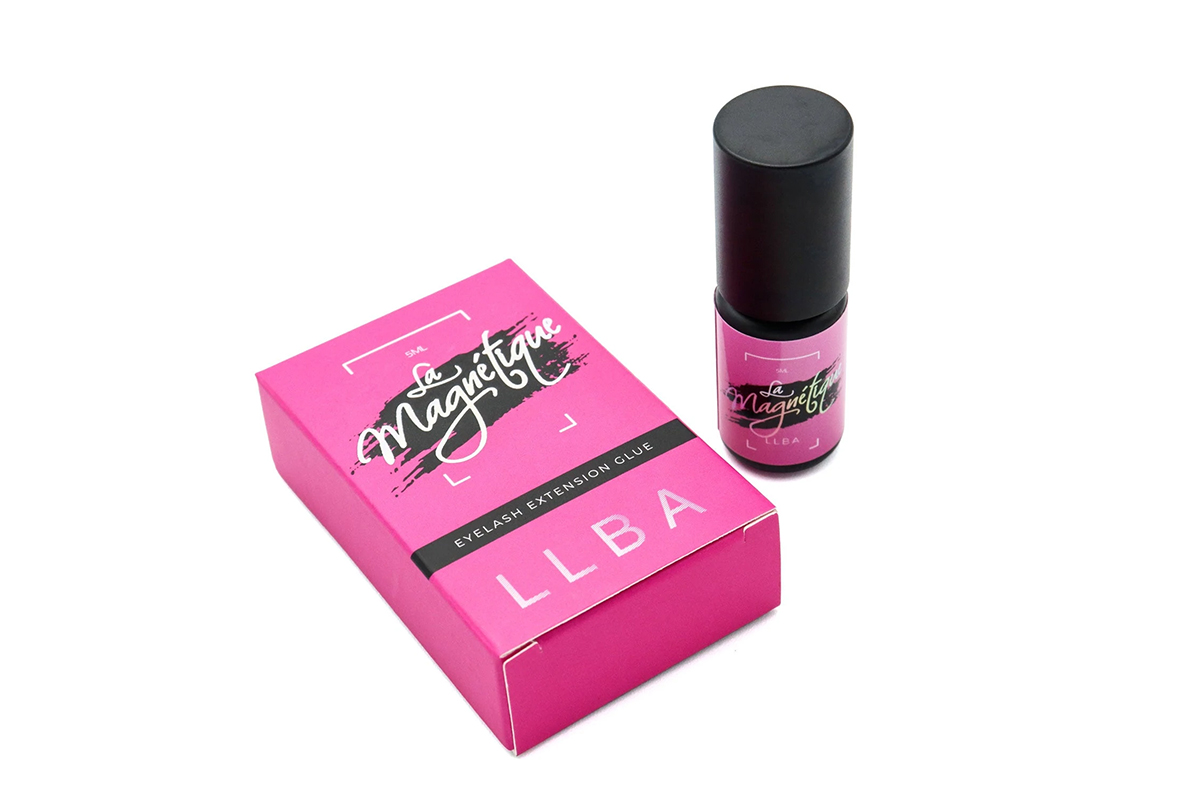
One of the high-quality lashes we recommend is La Magnétique by LLBA Professional. The impact of this adhesive is long-lasting, up to 6-8 weeks. Your glue will stay in pristine condition in the LLBA adhesive bottle. It also performs well in high-humidity environments.
The instructions above will help you develop the most beautiful eyelashes possible with individual lash trays. Keep them in mind, and you will be more professional.


